

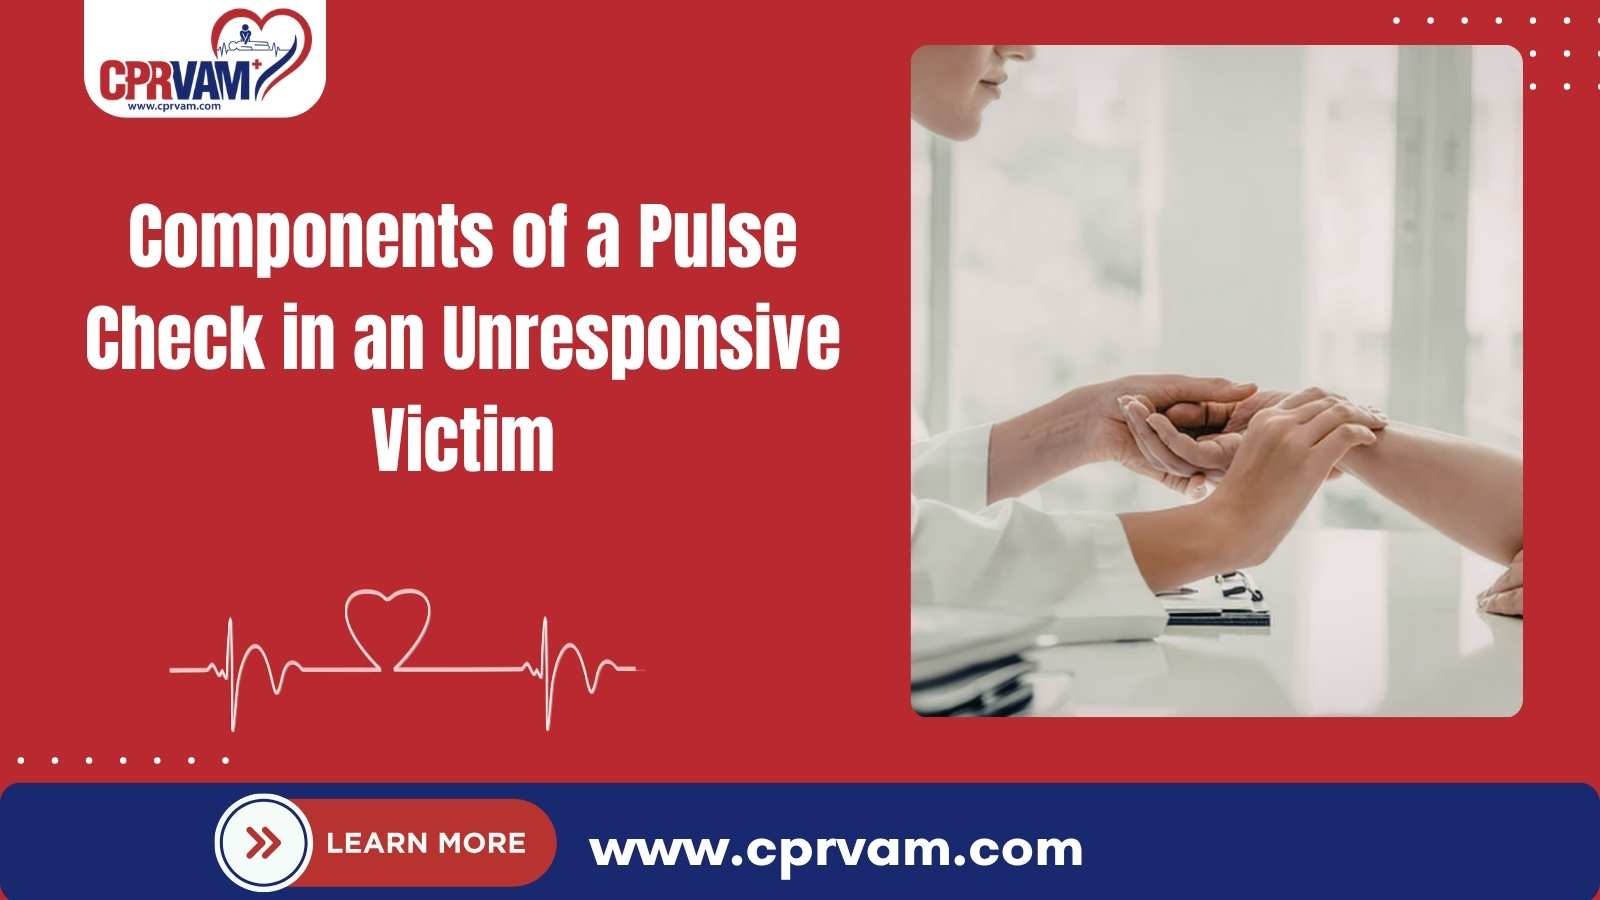
When someone becomes unresponsive, knowing how to respond immediately can save a life. One of the most critical steps in this process is performing a pulse check, which helps determine whether the heart is still effectively circulating blood. By assessing the presence, strength, and regularity of the pulse, rescuers gain vital information about the victim’s cardiovascular status and can decide whether to initiate life-saving interventions such as CPR or rescue breathing.
Proper pulse assessment is especially crucial in emergencies, as even a few seconds can make a significant difference in outcomes. It requires checking the correct pulse site, applying the right pressure, and simultaneously monitoring breathing. Avoiding common errors and following a systematic approach ensures that critical interventions are not delayed, improving the chances of survival until professional medical help arrives.
This blog explains the components of a pulse check in an unresponsive victim, step by step, and guides you on what to do after assessing the pulse.
What is a Pulse Check?
A pulse check is the process of feeling a person’s heartbeat at a specific artery to determine whether blood is circulating effectively through the body. It provides vital information about the presence, strength, and regularity of the heartbeat, which helps assess the victim’s cardiovascular status. In an unresponsive victim, performing a pulse check quickly and accurately is essential to identify cardiac arrest and decide whether to initiate life-saving interventions like CPR or call for emergency medical assistance.
Why Is Checking the Pulse Important in an Unresponsive Victim?
Checking the pulse is a crucial step when assessing an unresponsive victim because it provides immediate insight into the person’s cardiovascular status. A detectable pulse indicates that the heart is still pumping blood, allowing rescuers to focus on maintaining the airway and breathing support. Conversely, the absence of a pulse signals cardiac arrest, requiring immediate CPR and urgent medical intervention. By assessing the pulse quickly and accurately, rescuers can make informed decisions about life-saving actions, ensuring that critical interventions are initiated without delay.
Monitoring the pulse also helps track the victim’s condition over time, alerting rescuers to changes in heart rate or circulation that may require adjustments in care. In emergencies, every second counts, and a prompt pulse check guides effective response, increases the chances of survival, and helps maintain oxygen delivery to vital organs until professional medical help arrives.
What Does a Pulse Assessment Involve in an Unresponsive Victim?
A pulse assessment in an unresponsive victim involves a systematic, step-by-step evaluation to determine whether the heart is beating and whether immediate life-saving intervention is required. This process helps rescuers quickly decide the next course of action, such as starting CPR or monitoring the victim until emergency medical services arrive.
1. Ensure Scene Safety
Before attempting a pulse check, it is essential to ensure that the scene is safe for both you and the victim. Take a moment to look around for potential hazards such as moving traffic, fire, electrical wires, sharp objects, or unstable structures. Approaching an unsafe scene can put you at risk and prevent you from providing effective care. Once you are confident that the environment is secure, you can safely assess the unresponsive victim and proceed with life-saving measures without risking additional injuries.
2. Check Responsiveness
After ensuring the scene is safe, check the victim’s responsiveness by gently tapping their shoulders and speaking loudly to them. Ask a simple question such as, “Are you okay?” and watch for any movement, sound, or eye opening. If the victim does not respond, they are considered unresponsive, and you should immediately proceed with a pulse check and activate emergency medical services if help is available. This step confirms the need for urgent assessment and intervention.
3. Position the Victim Properly
Once the victim is confirmed to be unresponsive, position them properly to allow for an accurate pulse check and effective emergency care. Place the victim flat on their back on a firm, level surface. This position helps ensure reliable pulse detection and prepares the victim for interventions such as CPR if needed. Make sure the head, neck, and body are aligned in a neutral position to help maintain an open airway and prevent further injury.
4. Locate the Pulse
Locating the correct pulse site is a crucial step in accurately assessing circulation in an unresponsive victim. The pulse location varies depending on the victim’s age, and using the appropriate site ensures a reliable assessment of whether the heart is effectively pumping blood. Always use your index and middle fingers, apply light pressure, and remain steady while checking for a pulse.
A. Carotid Pulse (Adults and Children)
For adults and children older than one year, the carotid artery is the preferred pulse site. Gently place your index and middle fingers in the groove between the trachea (windpipe) and the sternocleidomastoid muscle on the side of the neck. Apply gentle pressure until you feel the pulse and take a moment to assess its presence and rhythm. This location provides a strong, reliable pulse and is ideal for evaluating circulation in unresponsive individuals.
B. Brachial Pulse (Infants)
For infants under one year of age, check the brachial pulse instead of the carotid pulse. Place two or three fingers on the inside of the infant’s upper arm, about halfway between the shoulder and the elbow. Use light pressure and move slowly, as an infant’s pulse can be delicate and harder to detect. Properly locating the brachial pulse allows for an accurate assessment of heart rate and circulation in infants.
5. Apply the Right Amount of Pressure Without Obstructing Blood Flow
When checking for a pulse, it is important to apply the right amount of pressure using the correct fingers. Always use your index and middle fingers, never the thumb, as it has its own pulse and can lead to inaccurate readings. Apply gentle but firm pressure, just enough to feel the arterial beat without compressing the artery.
Pressing too lightly may make the pulse difficult to detect, while pressing too hard can obstruct blood flow and create the false impression that no pulse is present. Keep your fingers steady and relaxed, allowing a few seconds to feel for the pulse. Using proper finger placement and appropriate pressure ensures an accurate assessment and helps guide timely life-saving decisions.
6. Assess Pulse Strength and Rate
Once the pulse is located, the next step is to assess its strength and rate. Feel whether the pulse is strong or weak and note if it seems regular or irregular. This helps indicate how effectively the heart is pumping blood. A strong, steady pulse suggests better circulation, while a weak or irregular pulse may signal a serious medical emergency.
Check the pulse for at least 5 seconds but no more than 10 seconds to avoid delaying life-saving care. During this time, focus on whether the pulse is present and consistent rather than counting an exact heart rate. If the pulse is absent, weak, or difficult to detect, be prepared to begin CPR immediately and activate emergency medical services.
7. Simultaneously Check Breathing
While assessing the pulse, it is essential to check the victim’s breathing at the same time. Look for visible chest rise, listen for breath sounds, and feel for airflow by placing your cheek near the victim’s mouth and nose. This combined assessment helps determine whether the victim is breathing normally, breathing irregularly, or not breathing at all.
If the victim has a pulse but is not breathing or is only gasping, provide appropriate rescue breathing as trained and continue to monitor the pulse. If there is no pulse and no normal breathing, begin CPR immediately and activate emergency medical services. Simultaneously checking breathing and pulse ensures quick, accurate decision-making during life-threatening emergencies.
What to Do After Checking for Pulse?
After checking for a pulse in an unresponsive victim, the next actions depend on whether a pulse is present and whether the victim is breathing normally. Prompt and appropriate intervention is essential to maintain circulation and oxygen delivery to vital organs while awaiting professional medical assistance.
1. If No Pulse Is Detected
If no pulse is felt within 5-10 seconds, the victim should be considered to be in cardiac arrest. Cardiopulmonary resuscitation (CPR) must be started immediately, beginning with high-quality chest compressions. An automated external defibrillator (AED) should be used as soon as it becomes available, following the device’s prompts. CPR should be continued without interruption until emergency medical services arrive or the victim shows signs of life.
2. If a Pulse Is Present but the Victim Is Not Breathing Normally
When a pulse is present, but the victim is not breathing or is only gasping, rescue breathing should be provided according to the rescuer’s level of training. The airway must be kept open, and breaths should be delivered at appropriate intervals while continuously monitoring the pulse. Emergency medical services should be activated if this has not already been done, and the victim’s condition should be reassessed regularly in case the pulse becomes absent.
3. If a Pulse and Normal Breathing Are Present
If the victim has both a detectable pulse and normal breathing, no immediate resuscitation is required. The victim should be closely monitored, kept comfortable, and placed in the recovery position if there is no suspicion of spinal injury. Continuous observation is important, as the victim’s condition may deteriorate before medical help arrives.
4. If You Are Unsure About the Pulse
If the rescuer cannot confidently detect a pulse within 10 seconds, the situation should be treated as if no pulse is present. In such cases, CPR should be started immediately rather than delaying care. Beginning CPR when unsure is safer than waiting, as prompt chest compressions can be life-saving and are unlikely to cause harm if a pulse is actually present.
What Are the Common Errors to Avoid While Checking Pulses?
When checking the pulse of an unresponsive victim, certain mistakes can lead to inaccurate assessment and delayed care. Avoiding these common errors helps ensure a quick, reliable evaluation and appropriate life-saving response.
Here are some of the common errors to avoid while checking for pulses:
Using the Thumb Instead of Fingers
The thumb has its own pulse, which can cause confusion. Always use the index and middle fingers to feel for a pulse.Applying Too Much Pressure
Pressing too hard can compress the artery and block blood flow, making the pulse difficult or impossible to feel.Checking for Too Long
Spending more than 10 seconds searching for a pulse can delay critical interventions like CPR. Limit the pulse check to 5-10 seconds.Choosing the Wrong Pulse Site
Using an incorrect site, such as the radial pulse in an unresponsive victim, can lead to false assumptions. Use the carotid pulse for adults and children and the brachial pulse for infants.Failing to Check Breathing at the Same Time
Assessing the pulse without simultaneously checking breathing can result in missed signs of respiratory arrest.Panicking or Rushing the Assessment
Stress can lead to poor technique or missed findings. Stay calm, focused, and systematic during the pulse check.Delaying Emergency Response
Detecting an absent or weak pulse but hesitating to start CPR or call for help can reduce survival chances.
Perform a Pulse Check and Start Life-Saving Care Immediately
A pulse check is a critical part of assessing an unresponsive victim and directly guides immediate, life-saving decisions. By accurately locating the correct pulse site, using proper technique, and checking breathing at the same time, rescuers can respond quickly and appropriately. Following a systematic approach and avoiding common mistakes helps prevent delays in CPR or rescue breathing, improving the victim’s chances of survival until advanced medical care arrives.
Gain the skills to act decisively in emergencies. Join CPR VAM’s AHA-approved, expert-led courses to master pulse checks, including CPR, BLS, ACLS, and PALS, through hands-on training that prepares you to save lives.
FAQs
1. Can You Check a Pulse on Someone Lying on a Soft Surface Like a Bed or Sofa?
Yes. But soft surfaces may make accurate chest compressions more difficult during CPR. For pulse checks, a firm, flat surface is preferred to ensure proper assessment and effective resuscitation if needed.
2. How Do You Distinguish Between a Weak Pulse and No Pulse in High-Stress Situations?
A weak pulse may be faint or irregular, whereas no pulse has no detectable arterial beat. Practice, calm assessment, and using both fingers and observation of other signs like skin color and breathing help differentiate the two.
3. Is It Safe to Perform a Pulse Check on a Victim With Suspected Neck or Spine Injury?
Yes. A carotid pulse check can usually be performed with minimal neck movement, but extreme caution is needed. If trauma is suspected, try to minimize head or neck manipulation while assessing circulation.
4. Can a Pulse Be Present but Not Detectable Due to Shock or Low Blood Pressure?
Yes. In cases of severe shock, hypovolemia, or cardiac conditions, the pulse may be too weak to feel. In such situations, assume compromised circulation and initiate CPR if the victim is unresponsive and not breathing normally.
5. How Long Should You Practice Pulse Checks to Gain Proficiency Before an Emergency?
Regular hands-on practice in CPR/BLS or PALS courses is recommended. Short, frequent practice sessions, 5 to 10 minutes per session, help reinforce technique, confidence, and the ability to quickly detect pulses under pressure.


